
|
|

If you are commenting on a topic and want to post images, scroll down below the text editor panel and click the uploader to Browse... for files on your computer. Click Upload You can upload more than one image. When the information panel shows that your images have uploaded, scroll down more and click Save to post your illustrated comment


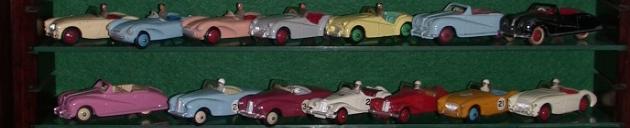
I add a comment and upload an image


I try !

Wahoo ! and I succeed !
Thank you alkeeling !
Friendly yours
Richard
Hello Al and greetings to everybody,
on the old Forum it was possible to write some text, then add a picture, then add more text and another picture and so on - so that each picture was accompanied by relevant text.
On my few recent submissions to the new Forum, it seems that it is not possible to do this - even when writing text, adding a picture, then more text, another picture etc., the pictures do not accompany the relevant text, but end up together below the last line of text, regardless of the order in which they are submitted.
Am I doing something wrong, or is it no longer possible to have a picture with it's caption/text together?
Thanks for your assistance and advice!
Regards, Adrian Nash (141)
Hello Adrian,
There are two ways to add images to your forum post.
First way, the easy way, is to use the multi-image uploader at the bottom of screen. Add a new file, upload, give it a title... upload another, etc... Then all of these images appear in galley after whatever text you've keyed in.
Second method is more involved but allows you to write some text, add an image, write more text, more images, more text, etc.
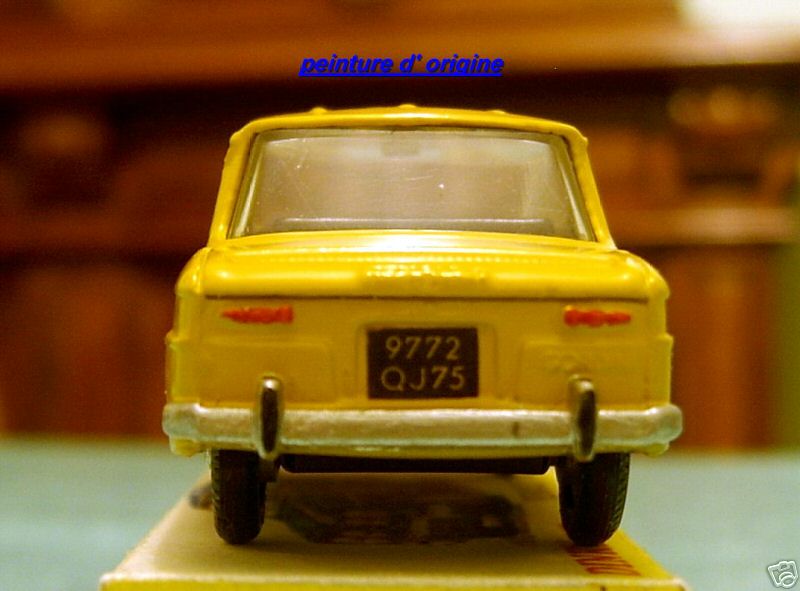
Have a look at the scrambled eggs at the top of the text editor... second row, second icon. Hover the mouse cursor over it and you will see it is labelled "Image". This is the inline image uploader. Click the icon and you will get a dialogue box titled "Image Properties". Click "Browse Server" and "Upload" from the top of the next dialogue box that appears. (Ignore the warning flash about image browsing) Locate the file on your computer that you want to upload and click the next "Upload" button. This action is going to upload the image to some storage space on this website and you will see it previewed, but now click "Insert" to actually include it within your post. Now you return to the first image properties dialogue box where you can just click OK.

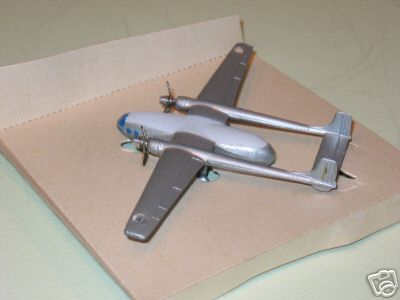
So here I uploaded an image by the second method and I can continue typing then keep uploading more images in the same way. Obviously there are a few more steps involved in the second method but they don't change and after a few attempts it should become a familiar process.

The purpose of inline images is to make available the option to finely craft the format of images and pictures. This goes beyond what a lot of people will probably want, but I was asked to include the functionality as an option for those that do. The system will conform inline images to a width not greater than 550 pixels. Unlike the first method, it is not possible to simply click on inline image to see an enlargement - you will need to right click and select View Image to see the picture in larger proportions.

Al
Thank you for the explanation given to Adrian, although it is certainly more complicated than the old site, and of course it does appear one cannot move pictures around as was the case with the old site. I asked the identical question as asked by Adrian several times in the past and gave up waiting for an answer. With those issues, I never bothered completing my piece on the 449 Chevrolet.
It does appear that the new site has a lot more added to it than the earlier site, although I must confess, many of us are not completely computer-literate, I for one. I have read through your fine explanation, and one problem I see arising will be those who have become used to clicking an image to open it in a new panel at its original size. With those images uploaded during the text-image-text process will have to get used to right-mouse clicking rather than simply clicking on it.
Also, you did not mention how one centres (or centers in America) an image, which is something I did on the old site to make my posting look a little better or "professional"!
Merry Christmas to you and warmest regards
Bruce (150) #729
26 December 2015
With the previous dtca site, I think pictures were basically added to posts by hotlinking - which is to say that images were uploaded to photobucket or flickr or some other place like that, then a quick and dirty <img> ink path was dropped into the text. You can actually still do this, if you want to. The problem with hotlinking is that images hosted elsewhere might be deleted or moved or otherwise become unavailable, stripping posts of their pictures without the author realising and without the dtca website being able to do anything about it.
With the new methods, you are uploading images to this website as well as inserting them into posts. The whole business of keeping track of images uploading on photobucket etc becomes redundant.
Centring an image.
Okay, well, to centre text, you probably know that you just have to click on the centre text icon?
So you get something like this
You do the same thing with a picture. Click on a picture and click the centre text icon.
So that's that one.
Right clicking on inline images.
On one hand I'm asked to accommodate users who want a very simple posting interface - type some text then upload a picture or two. On the other hand I'm asked to provide features to allow inline images, and actually more, for users with more advanced IT skills. Inline images can slip between paragraphs, be scaled, aligned, linked, etc, as required by the author. With this level of crafting, it cannot be necessarily known if the author also wishes his every inline image to also have the lightbox enlargement behaviour. So compromise is inevitable according to usage. Readers be advised that a larger image version may be available by right clicking and selecting View Image.
Moving images around
If you upload and insert an image, you should be able to move it by simply clicking on the image (to select it), then clicking and holding down and dragging it to the required position.

Al---Thanks very much for both amplifying and clarifying this whole issue of posting and image control. I do think you have created a system that should satisfy the variety of members posting here, whether simple or more advanced. I, for one, enjoy having the ability to enlarge our images, giving a wonderful view of our special models. It adds to the fun of taking good, high quality images, and shows off the usually amazing detail that Meccano built into Dinky Toys. Thanks again for all that you have done to enhance the site and make it enjoyable again.
Just an additional thought: Maybe you could consider adding a "sticky" or something similar to the homepage, explaining all this posting and image control, so users can always and easily find it for reference.....just a thought!
Best regards, Terry

--30h and 253 Daimler Ambulance (1950-64)
-561 and 961 Blaw Knox Bulldozer (1946-64)
-561 and 961 Blaw Knox Bulldozer (1946-64)
-561 and 961 Blaw Knox Bulldozer (1946-64)
-561 and 961 Blaw Knox Bulldozer (1946-64)
Membership renewal
Membership renewal
Membership renewal
-Boxes General Discussions including end flaps, both British and French
Membership renewal
Membership renewal
-537 Renault 16 TL
-Boxes General Discussions including end flaps, both British and French
-Boxes General Discussions including end flaps, both British and French
-Boxes General Discussions including end flaps, both British and French
-Boxes General Discussions including end flaps, both British and French
DTCAwebsite upgrade 2023
DTCAwebsite upgrade 2023
DTCAwebsite upgrade 2023
616-AEC with Chieftain Tank
DTCAwebsite upgrade 2023
DTCAwebsite upgrade 2023
DTCAwebsite upgrade 2023
-073 Land Rover, Horse Box and Horse (1960-67)
DTCAwebsite upgrade 2023
-073 Land Rover, Horse Box and Horse (1960-67)
DTCAwebsite upgrade 2023
DTCAwebsite upgrade 2023
-105c and 383 4-Wheel Hand Truck (1949-1958)
-105c and 383 4-Wheel Hand Truck (1949-1958)
DTCAwebsite upgrade 2023
DTCAwebsite upgrade 2023
DTCAwebsite upgrade 2023
DTCAwebsite upgrade 2023
DTCAwebsite upgrade 2023